
The Hardanger Biscornu Project
Article July/August 2015 in Designs in Machine Embroidery Magazine
Step 1. The Digitizing Process in Art and Stitch PLUS
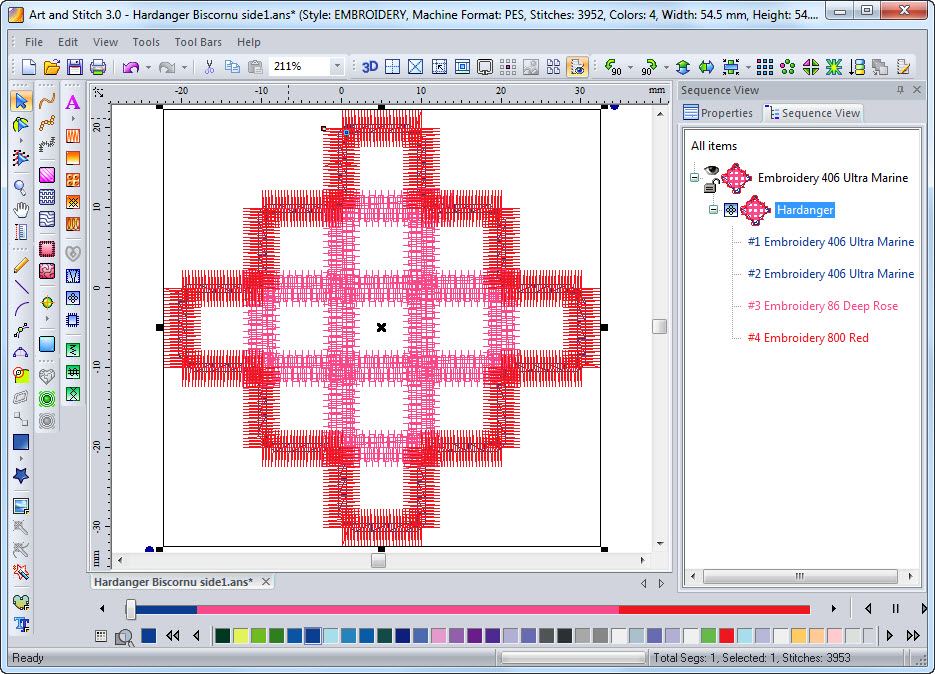
The layers made for you by the Hardanger Tool in Art and Stitch PLUS:
Step 2: Embroider

Step 3. Assembling the Biscornu
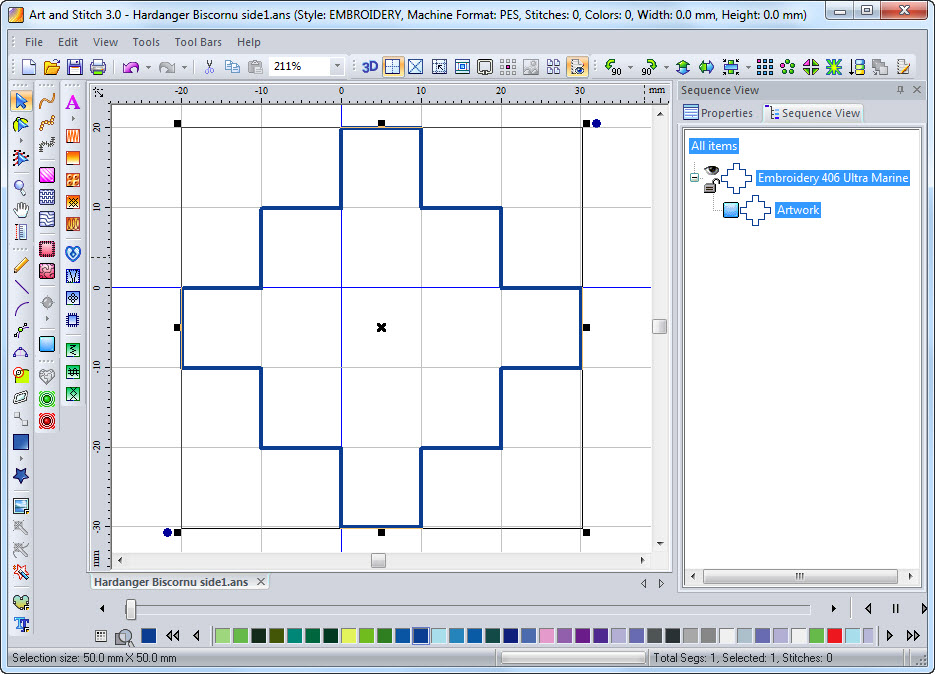
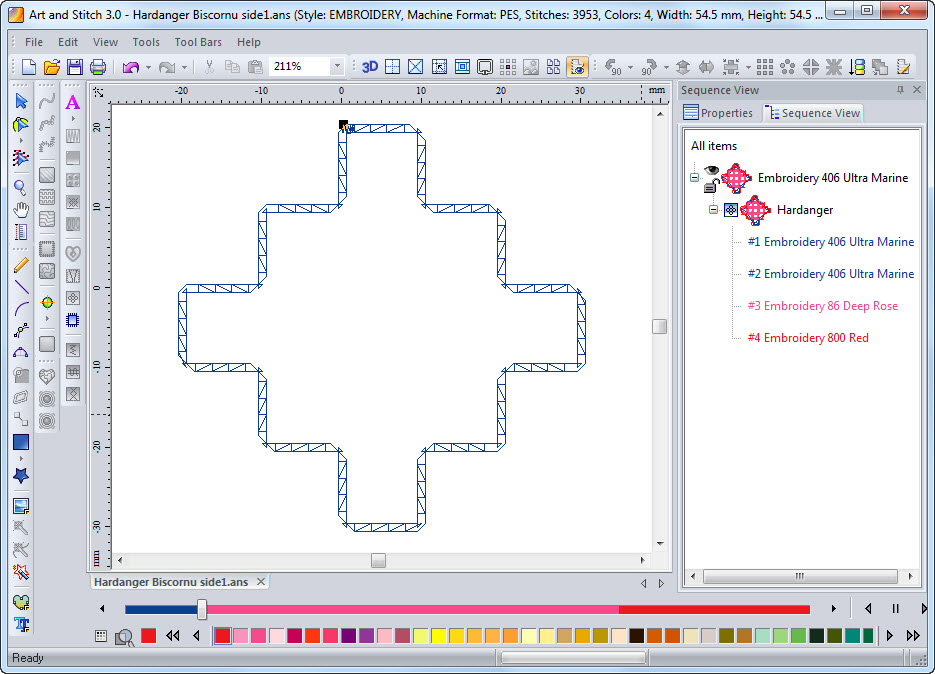
Select the shape and click on the Hardanger Tool in the Embroidery Module toolbar: the outline layers are automatically made for you
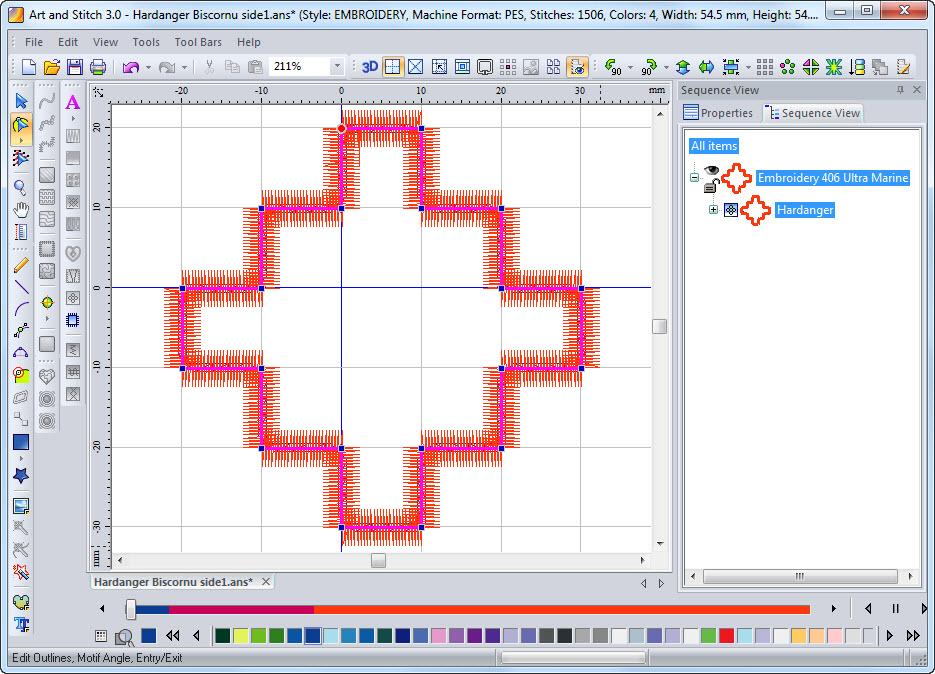
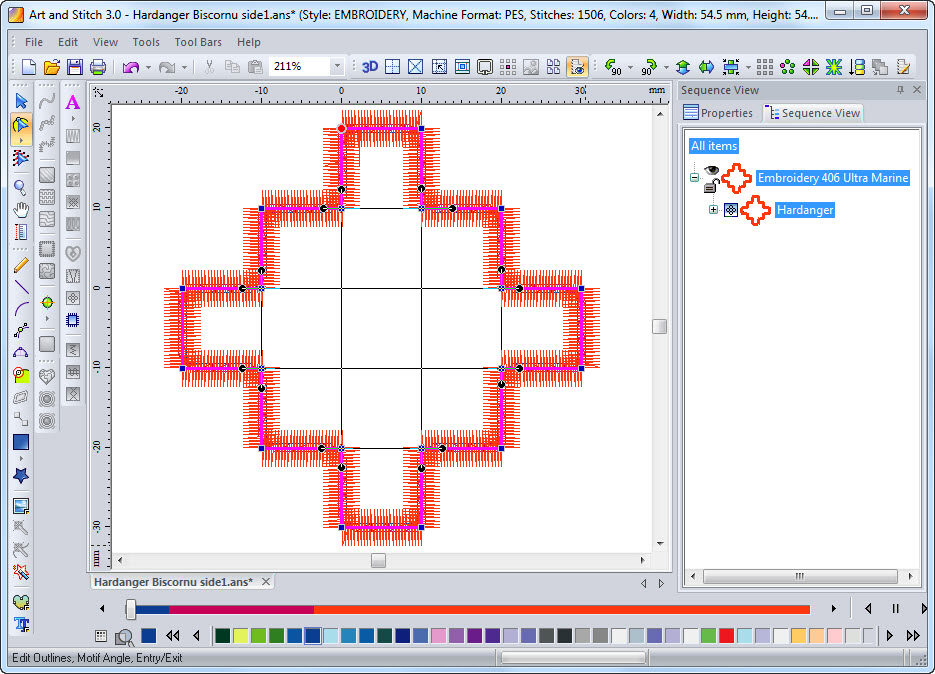
Still with the same tool set the bridges by clicking and dragging from one side to the other. Release the mouse. Repeat for all bridges.
When all bridges are set, press Enter. Your Hardanger design with all the necessary layers is ready!
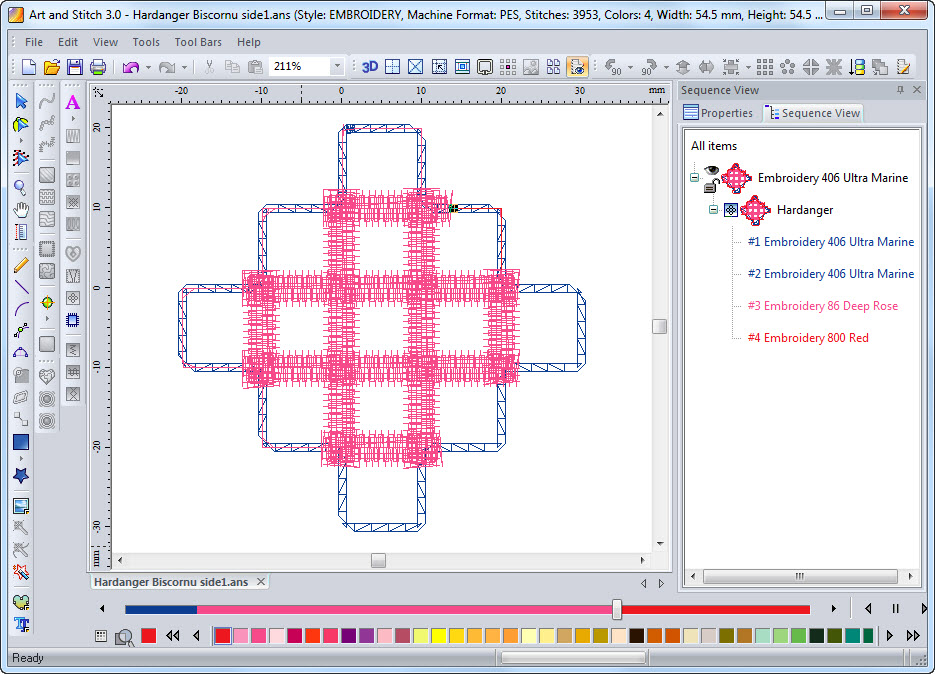
With the Sew Simulator you can see the various layers: here the cutting layer.
This is how the bridges are sewn:
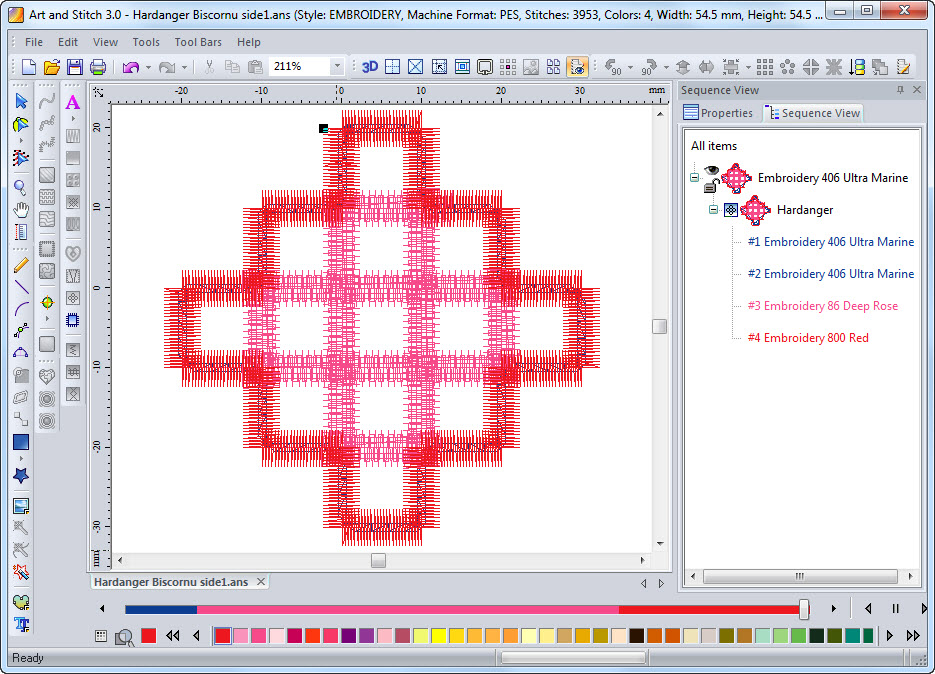
Still in Sew Simulator: this is the finishing layer
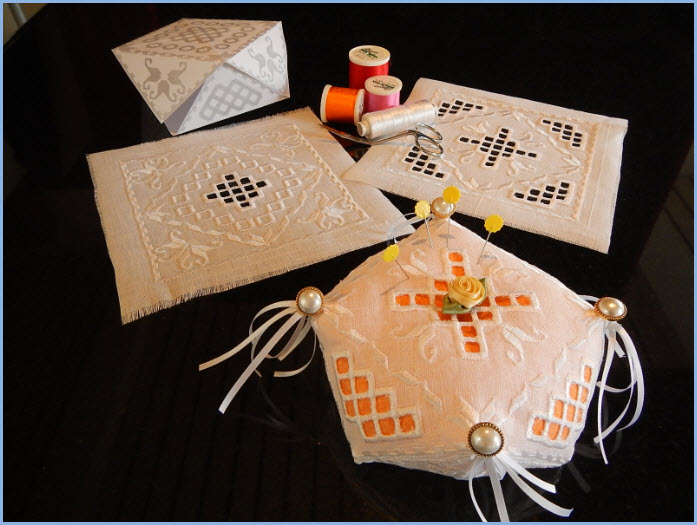
I added several embellishments
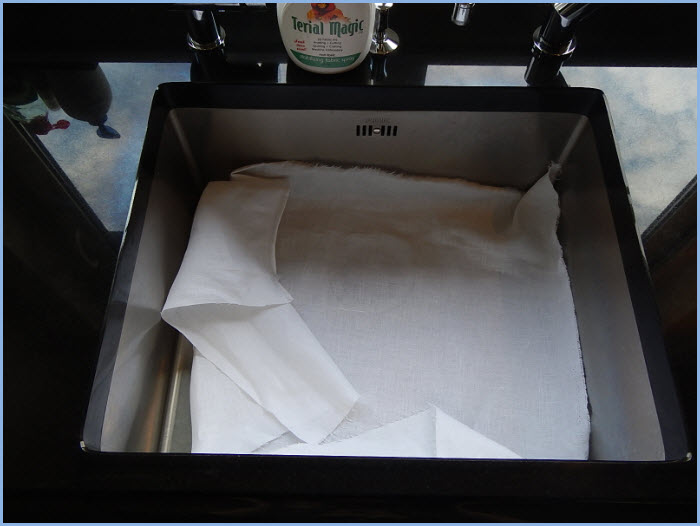
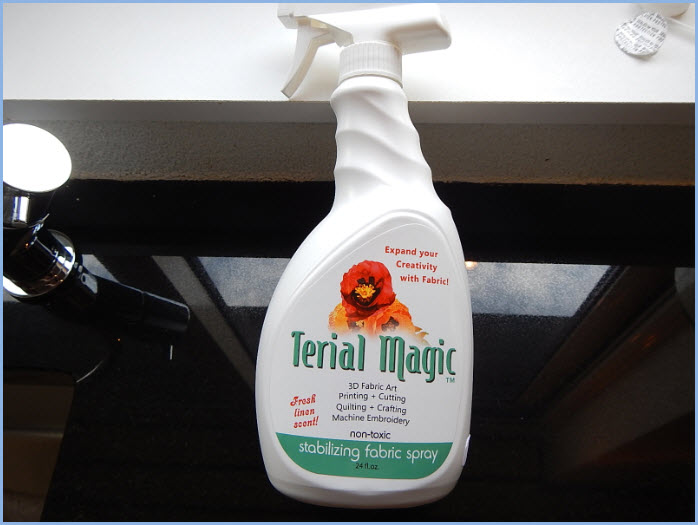
I used a nice quality linen fabric and sprayed it with Terial Magic to prepare the fabric. The stabilizer makes the fabric feel like paper. This creates nice clean cuts. I put the fabric in a box so that the spray wouldn't get all over the place.
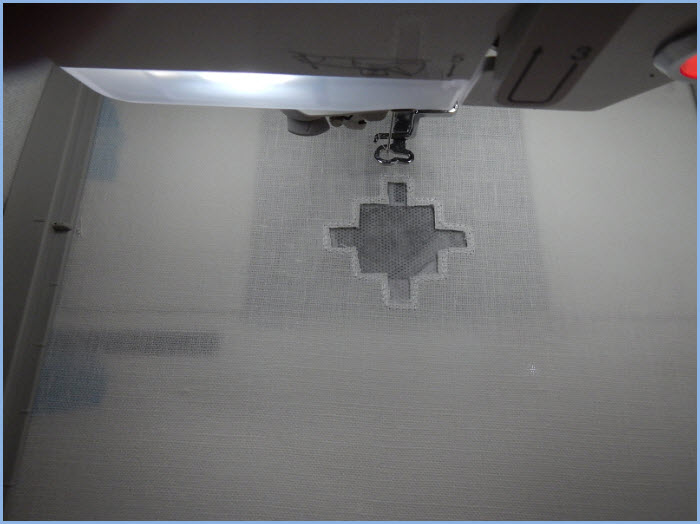
Hoop water soluble stabilizer (the "mesh" type) together with the stiffened fabric, and embroider the first layer. Take the hoop off the machine and cut the fabric (NOT the stabilizer) inside the shape away.
Reattach the hoop and let the machine finish all layers of the design in one color. Here the bridges are embroidered on the water soluble stabilizer.
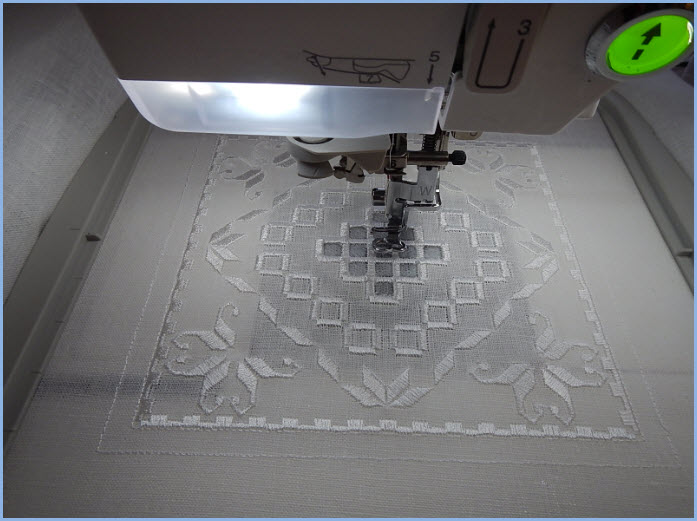
The rest of the design is embroidered. Part 1 is finished.
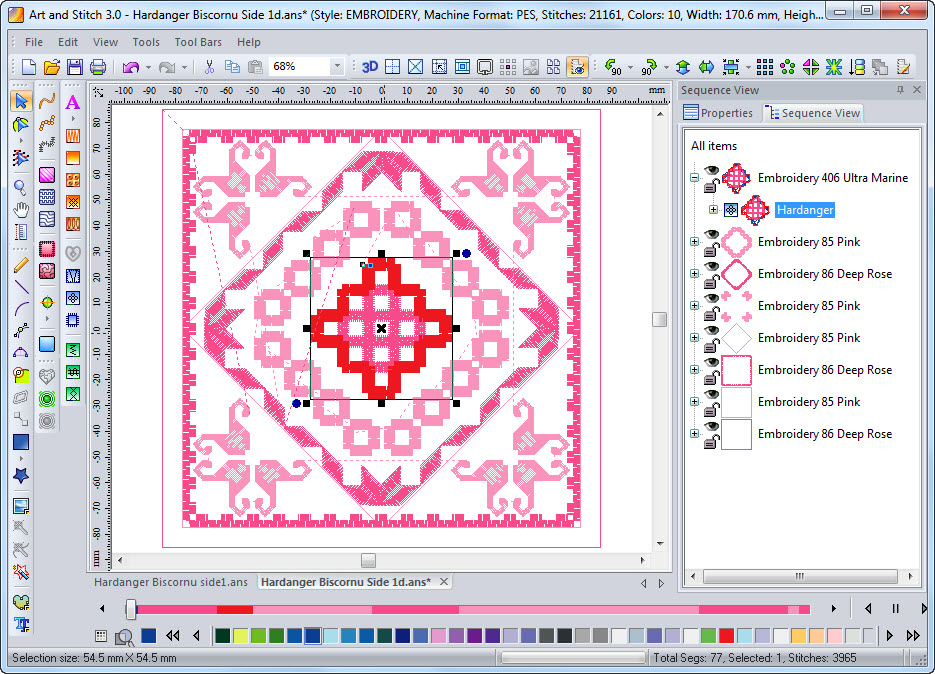
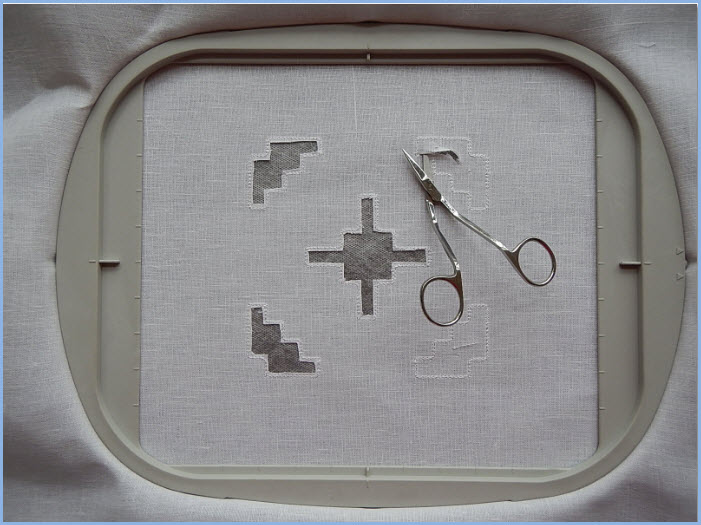
For part 2 I used multiple cutting areas, drawn with the Line tool and created with the Hardanger tool. Here the fabric inside all shapes is cut away. DO NOT touch the stabilizer when cutting!
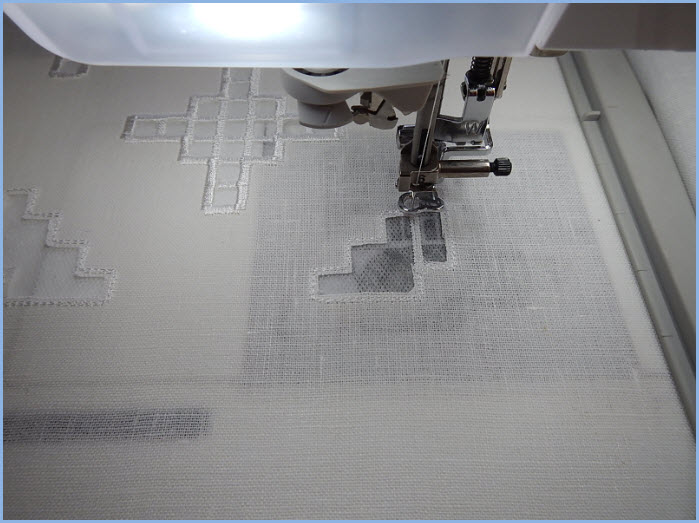
Here the various layers of part 2 are embroidered.
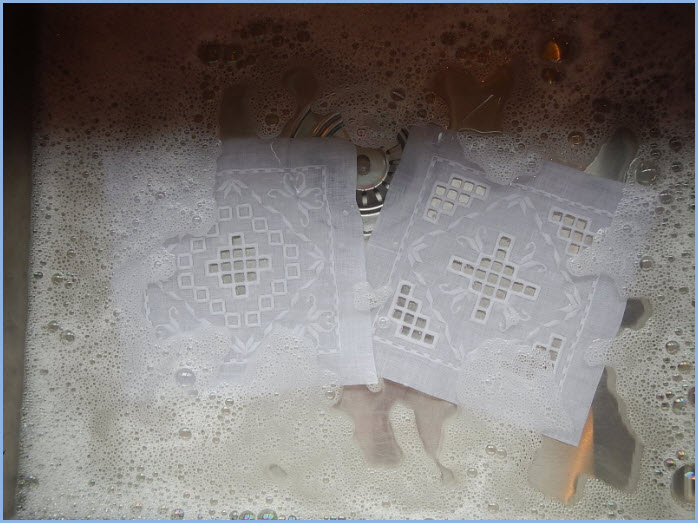
When the designs are finished, put it in luke warm soapy water to remove the water soluble stabilizer and the Terial Magic.
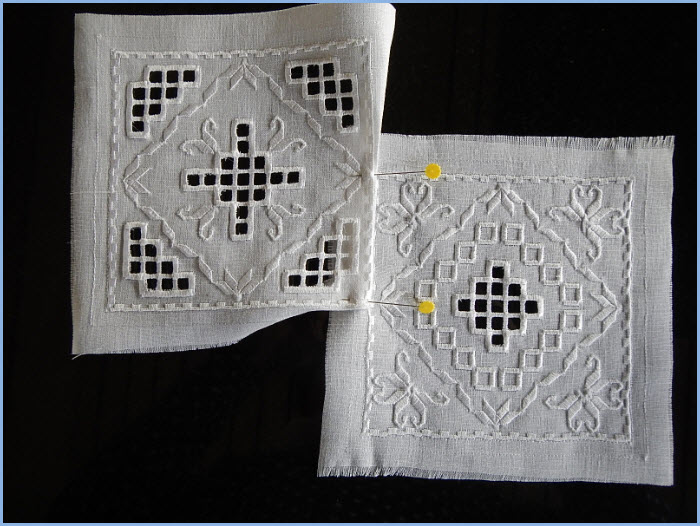
Sew the two squares together: start sewing a corner of part 1 to the mid point of part 2, pivot in the corner and continue sewing. That creates the special 8 pointed Biscornu.
The resulting biscornu. The printed designs in the top left corner of this photo show how you can "see" the biscornu shape even before stitching it, just to check how your designs will work out.
Have a ball embellishing the biscornu: it can be a pincushion, but also a wedding ring pillow!
